Navigate to All-in-One WP Migration on the left hand side menu in your WordPress Dashboard. Then in the sub-menu click Export.
If you don't see All-in-One WP Migration in the menu, you will need to install the plugin which you can find here https://servmask.com/. For more on how to install a plug-in visit our article here.
The option to replace text in the database you can ignore. Below that are options to exclude any content of your website from being a part of the backup. Generally speaking you can leave this alone too.
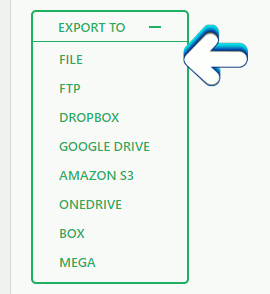
Click on the EXPORT TO button which will produce a drop-down of options. For adding your website in a simple file format to your computer just click on the FILE option.
You should see a download panel that is preparing the backup of your website. Once that's done you should see a new panel with an animated download button. Click on that and the download of your backup to your computer will begin. 
Once that is complete, locate the backup file on your computer. Typically for example on Windows a browser will automatically by default download to your Download folder. The backup file is simply one file with the extension of .wpress and may just have a simple looking paper icon.![]()
Don't let the simple presence of your backup seem like it's not a real backup of your website. This plug-in is quite capable and reliable for backing up your WordPress site. You can copy this file to a different folder if you like.To upload your backup file, check out our article Upload backup of WordPress website with the All-in-One WP Migration plugin.
Author: Jesse Lange
